I updated everything to the latest Unity Editor. Also realized I had the wrong shaders on my hairs, those are fixed and the hairs look MUCH better!
3.0 KiB
UVCombine node
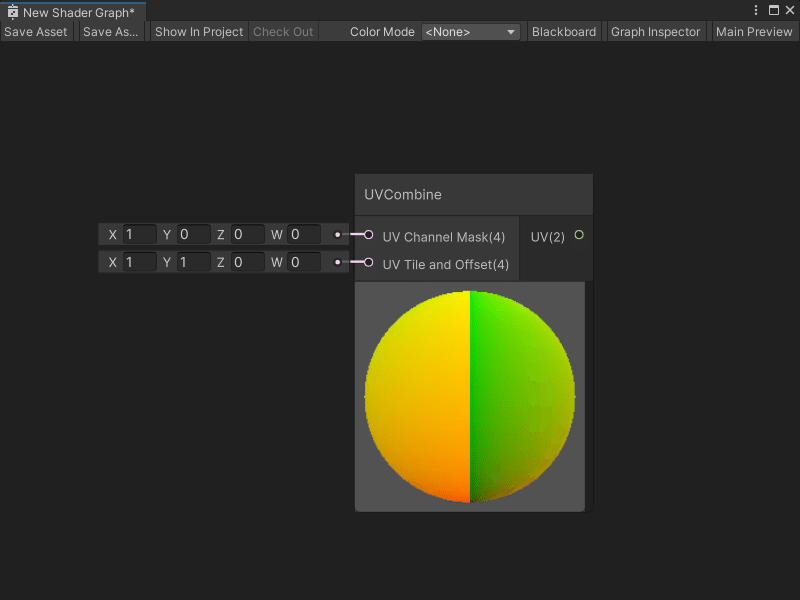
The UVCombine node lets you select which UV channel you want to use for mapping your shader to geometry in your application. You can also choose to apply tiling and offset to your UV coordinates.
[!includenodes-subgraph-node]
Create Node menu category
The UVCombine node is under the Utility > High Definition Render Pipeline category in the Create Node menu.
Compatibility
[!includenodes-compatibility-hdrp]
[!includehdrp-latest-link]
[!includenodes-all-contexts]
Inputs
[!includenodes-inputs]
| Name | Type | Description |
|---|---|---|
| UV Channel Mask | Vector 4 | Select which UV channel you want to use for your UV coordinates by entering a 1 in the corresponding default input on the port:
0. You can also connect a node that outputs a Vector 4. |
| UV Tile and Offset | Vector 4 | Use the port's default input to specify the amount of offset or tiling that you want to apply to your shader's UV coordinates:
|
Outputs
[!includenodes-single-output]
| Name | Type | Binding | Description |
|---|---|---|---|
| UV | Vector 2 | UV | The final UV output, after selecting a UV channel and, if specified, any tiling or offset. |
Example graph usage
For an example use of the UVCombine node, see either of the HDRP's Fabric shaders.
To view these Shader Graphs:
-
Create a new material and assign it the HDRP > Fabric > Silk or HDRP > Fabric > CottonWool shader, as described in the Unity User Manual section Creating a material asset, and assigning a shader to it.
-
Next to the Shader dropdown, select Edit.
Your chosen Fabric's Shader Graph opens. You can view the UVCombine node, its Subgraph, and the other nodes that create HDRP's Fabric shaders.
